
Although spring doesn’t officially start until Monday, March 20, we did gain more than an extra hour of daylight last month. Sure, it’s still cold and sometimes wet outside, but when did that stop the avid gardener from trying to find ways to get a head start on the spring gardening season?
Planting anything may be challenging right now, but there are other ways to feed your green thumb and get your knees dirty in your garden
Make a plan
If you’ve decided to shake up the garden this year, get your plan on paper as soon as possible. For inspiration, visit Pinterest, Fine Gardening or Gardenologist. Then, make a list of what you’ll purchase when the season begins. Consider choosing native trees and shrubs as they’re adapted to our climate and therefore require less water and maintenance.
Once you decide what you’ll plant, figure out where you’ll plant. Spend about 30 minutes putting your plan to scale on graph paper, making note of the square footage of each bed in the margins. Not only will this plan help you determine your planting scheme, but calculating topsoil and amendments becomes far easier as well.
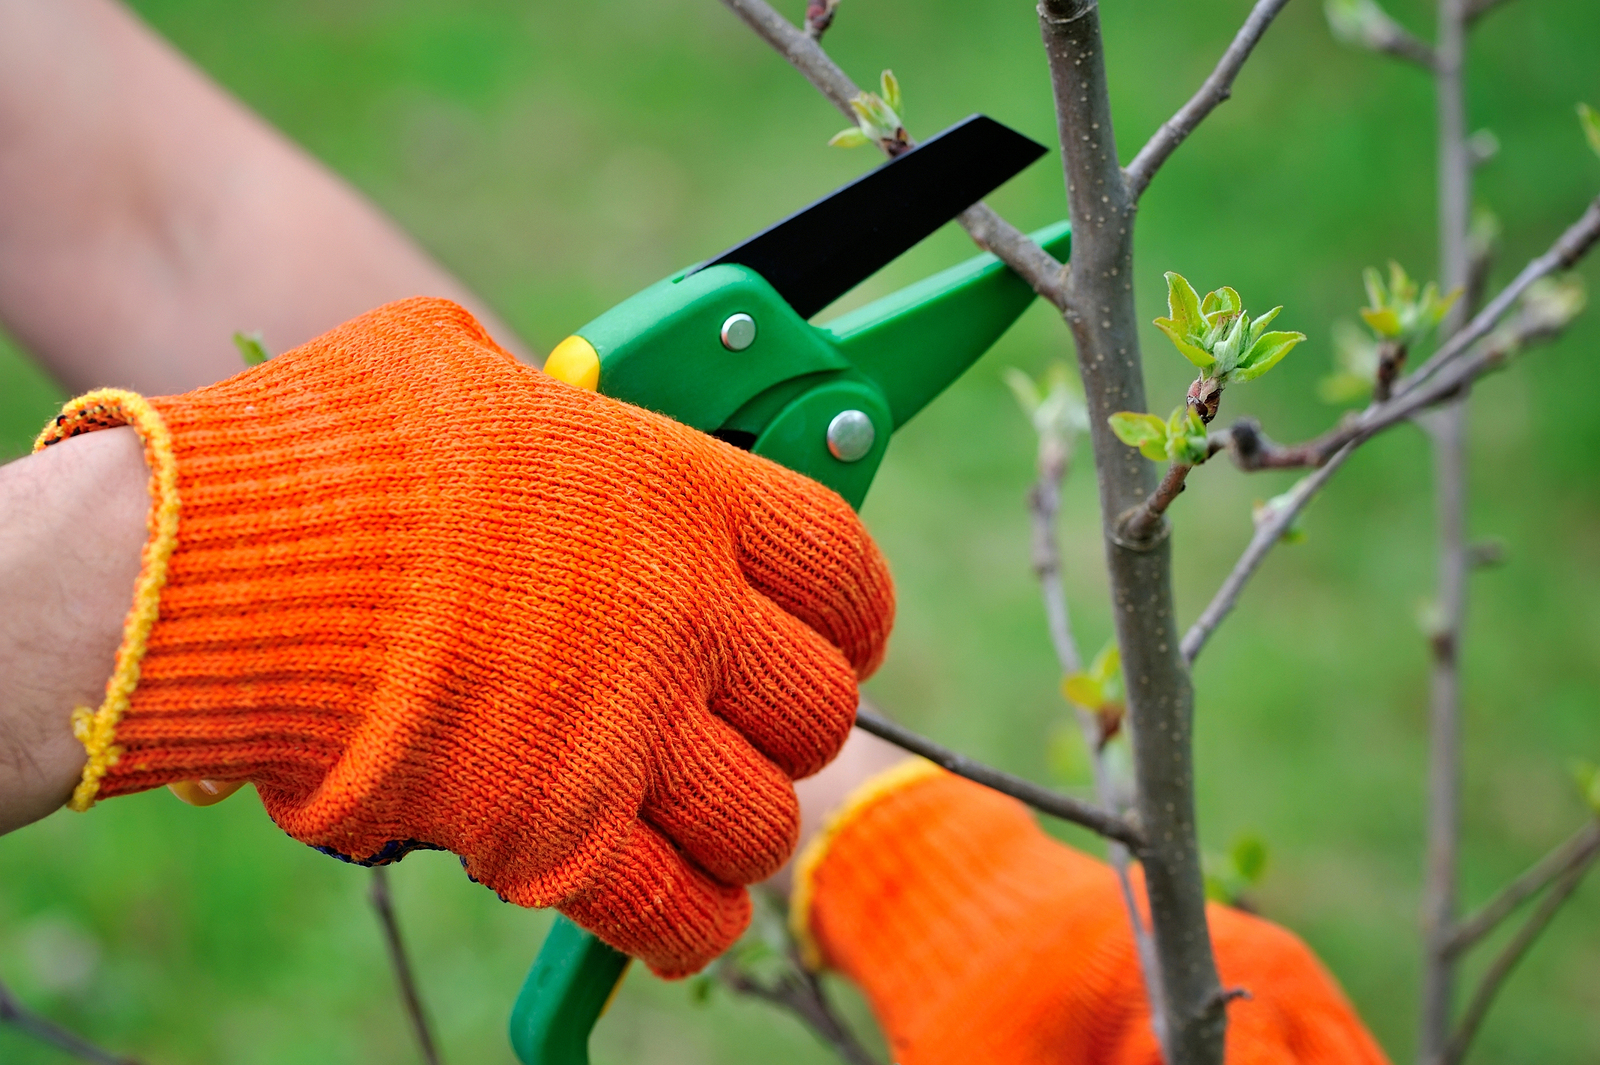
Get your tools and equipment ready for spring
Drag the garden hoe, spades and shovels out of storage and get to work cleaning them up. Use a wire brush to scrape off last year’s residue and then rinse well. When they’re dry, squirt some WD-40® on a rag and use it to wipe down the face of each tool to help ward off rust. If they’re already rusty, soak them in a bucket of white vinegar for two to three hours, rinse them with water from the hose and then apply the WD-40®. Use sandpaper to lightly sand splinters from wood handles and then rub them with linseed oil.
Check the blades of your pruners, saws and other cutting equipment. Sticky blades can be cured with a wipe of rubbing alcohol (be careful if the blades are sharp). If they’re not sharp, use a whetstone or file to sharpen them or, take them to a professional. Some Ace Hardware stores offer gardening equipment sharpening (even lawnmower blades) and Home Depot sells sharpening kits.
Before you know it, you’ll be dragging out the lawn equipment as well so get a head start on the season by getting the mower, tiller and edger in top shape. In fact, the experts at Troy-Bilt recommend that you give your equipment a tune up at least once a year. Start by cleaning the body, then change the oil and sharpen the blades. Check that all bolts and screws are tight and you’re ready to go.
Prepare planting pots
Whether you plan on buying existing plants for your flowerpots or starting them from seed, if you’ll be reusing last year’s containers you’ll need to get them cleaned up and disinfected.
Dump out the old soil and use a wire brush to remove any caked on fertilizer salts, roots and soil. Wash each container in warm, soapy water and then rinse. Finally, allow the pots to soak for 15 minutes in a solution of one-part household bleach and 9 parts of water. Rinse them again and allow them to air dry.
Yes, you can prune some plants
Some of the most popular flowering trees and shrubs must be pruned in cool weather to avoid disease. But avoid pruning when the weather is damp. “Absolutely, do not prune if it’s wet out, it spreads a lot of diseases,” cautions horticulturist April Johnson. “Wait until the sun’s out for a little while; it dries out and kills mold and bacteria,” she concludes.
When conditions are right, get outdoors and prune your apple tree, oaks, flowering crabapples and honeylocust. Start by thinning out any branches that cross over one another. This avoids raw bark when the wind blows and they rub together. Then, move on to thinning out crowded spots, to allow sunlight to penetrate and air to circulate, creating conditions inhospitable to many disease organisms. Make the cut just above the swollen area where the branch joins another branch or the trunk (the branch collar).
Be brutal with the older shrub that didn’t perform well last season. Cut it down to within 6 inches of the soil. The University of Minnesota calls this “chain saw pruning” and promises the shrub will fill out quickly and perform better when the weather warms.
Check the compost pile
“Even in winter, a compost pile is alive, an ecosystem in flux,” claims Genevieve Slocum at rodalesorganiclife.com. She recommends that you continue to “feed” your compost pile with kitchen scraps, such as vegetable peelings, coffee grinds and eggshells, throw in some newspaper (shredded, of course), manure from chickens or rabbits if you raise them or blood meal if you don’t. Add fallen leaves, straw and anything else that’s organic that you find in the garden. To help speed up decomposition, shred or chop everything into 2-inch or smaller pieces.
While composting in warmer temperatures involves merely throwing everything onto a pile, Slocum recommends that here at the tail-end of winter we should create 2- to 4-inch layers of “green” items (kitchen scraps, etc.) and cover them with 5- to 7-inch layers of the “brown” items (newspaper, hay, dead leaves, etc.). Keep repeating the process until your compost pile is to the height you desire.
Get these chores done now and you can hit the ground running when the warmer weather rolls around.
Powered by WPeMatico


